Introduction
We all desire to look thin and have the body of our dreams. Although, it isn’t simple to achieve perfection, and it doesn’t happen overnight. However, if you require it for learning/work purposes then, we will demonstrate a smooth way to have a brilliantly transformed body without taking much time.
Photoshop has long been regarded as a tool for experts with advanced skills. This is the realm where creativity reigns supreme, and our images bring all of our fantasies to life.
Step By Step Process on How to Change Body Shape in Photoshop
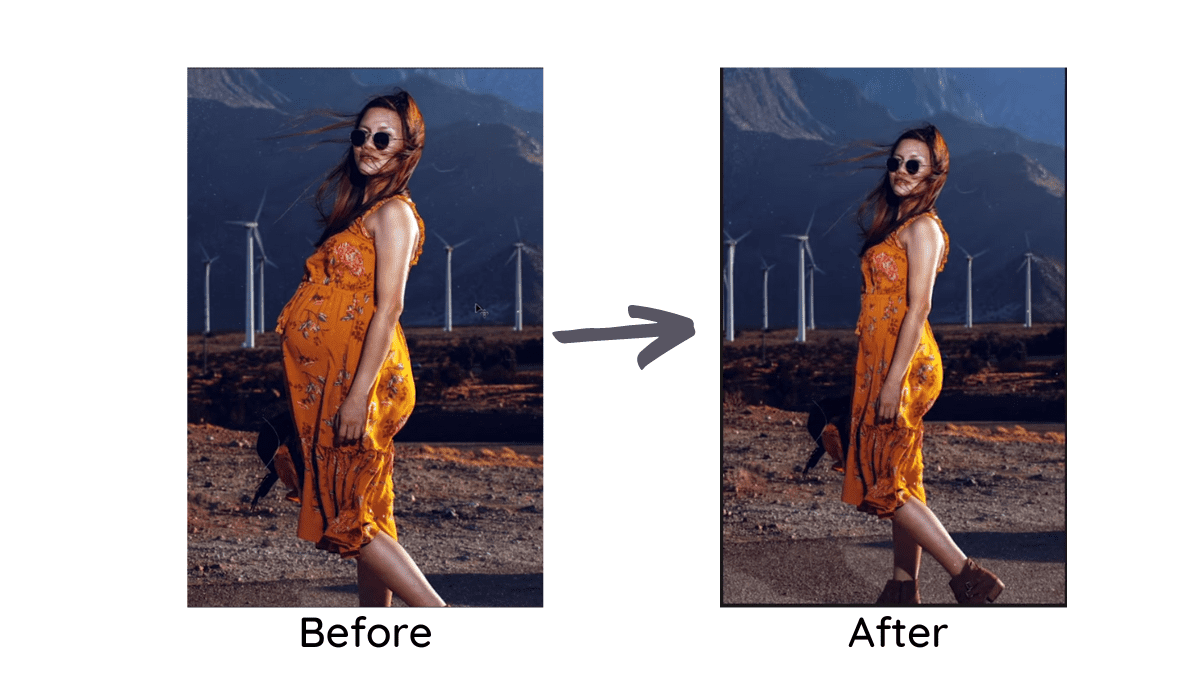
In this article, we’ll show you how to use Photoshop to change your big stomach into a flat stomach within a few minutes!
To see a step-by-step lesson on how to change body shape in Photoshop, keep on scrolling down.
Step 1: Open the Image and Convert It To A Smart Object
First, open the image that you wish to edit on your photoshop tab. As soon as the photo is seen on your screen, you will see your background layer. Now you need to make a duplicate of your background layer and to do that, press Ctrl+J on your keyboard and then right-click on the new layer that has been made as Layer 1 and scroll down to Smart Object.
Step 2: Liquify and Get Your Freeze Mask Brush
Go to Filter and scroll down to Liquify. Now a new set of options will appear on both the right and left-hand sides, go to the freeze mask tool and the freeze mask brush will appear on your screen. Once you get the freeze mask brush, paint over the areas of your image where you don’t want to get affected. While you are using these brushes, you can use the square brackets: [ ] to change the size of your brush.
Step 3: Protect the Areas Where You Don’t Want to Be Affected
Now simply, paint over the areas where you don’t want to be affected and once you are done with it, select the forward warp Tool. When you do that, a new set of options will appear on your right-hand side and from there you need to increase the pressure and density to 50%.
Step 4: Change the Body Shape
The place where you want to adjust, before doing that, makes your brush size bigger. As we are going to make the belly portion thinner, in this case, you will slowly push the brush inward towards her stomach.
As you keep on doing it, you will realise the other parts which need to be adjusted as well so continue the process until you are happy with the results. If you want to uplift the back portion of the lady then move your brush outwards, it will enhance the part of the lady’s dress and give a nice proportionate body structure.
Note: While doing the editing of the body parts, the dress or other parts may get affected if your brush size is always bigger so, keep this in mind and continue to make your brush size smaller and bigger as per your need.
Step 5: Further Editing
Double-click on the Liquify option of the layer 1 option, and the properties menu will appear instantly from there you can zoom in on the picture, click on the forward warp tool once again and make further changes. Once you are done, simply click OK.
Step 6: Fix Your Distorted Background
Now you need to fix your distorted background because, in some of the parts, you have pushed the dress inwards as well as outwards so, now the background needs to match with the other portion of this photo. To do that, take a pen tool and start outlining the areas that need adjustment. So, make a rough outlining around the distorted area and right-click on Make Selection. Make your Feather Radius to 1 pixel at least and click OK.
You have outlined the distorted area, now click on the new layer icon to create a new layer. Then go to the Stamp tool, you can also press S for the shortcut. The reason for using this tool is to take the unaffected portion and duplicate it on the distorted portion.
Press the Alt key, and start painting over the distorted background. Beside your brush, you will see a cross sign at a distance, which indicates the sample portion from where it is taking the portion and painting over the affected areas.
Step 7: Final Touch
It also makes you aware that if you overdo some of the parts then it will exactly copy your background and ruin your editing so slowly do this process and don’t overdo anything and if you do so then you can always undo it in photoshop.
Also, you can position the cross “+” sign anywhere you want and it will start painting over the distorted background exactly like the unaffected portion. After you are done with bringing perfection to your image, you can deselect that portion by clicking on Ctrl+D.
And you are done! Now you know perfectly how to change body shape in photoshop without anyone even knowing!
Frequently Asked Questions
What Is the Best Way to Liquify a Photograph?
In Photoshop, open a photo containing one or more faces. To enter the dialog box, click “Filter,” then “Liquify.” In the Tools panel, choose the “Face” tool. Make the necessary adjustments to the face using the sliding controls as shown below, and then repeat the process for the others.
In Photoshop, How Do I Get Rid of Wrinkles?
Add a new blank layer as the first step. Select Healing Brush from the drop-down menu. Select “All Layers” as the sample option for the Healing Brush. Uncheck the “Aligned” box. To sample a good texture, click on it. To Heal the Wrinkle portion, brush over It.
Conclusion
Anyone who works with images should know all of the ins and outs of Adobe Photoshop. You may need to learn how to change body shape in photoshop using a few basic Photoshop tools once you start working on various types of editing jobs. This tutorial may appear difficult at first, but if you carefully follow the steps and practise it a few times on your own, it should be like making a cup of tea.
If you have liked our blog, check out some of our other posts where we discussed different picture editing services in greater depth. If you have any questions or helpful suggestions then leave them in the comments section. We hope to see you again in the future.
Read Also: How to See Through White Shirt